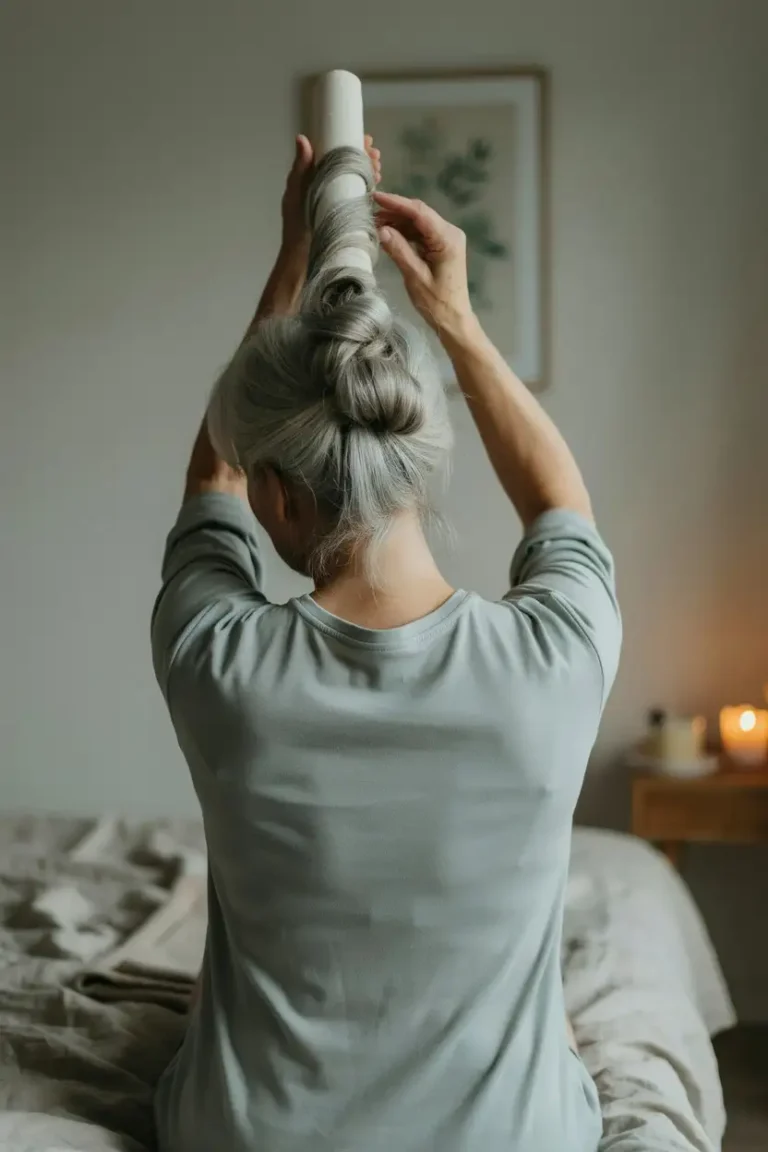
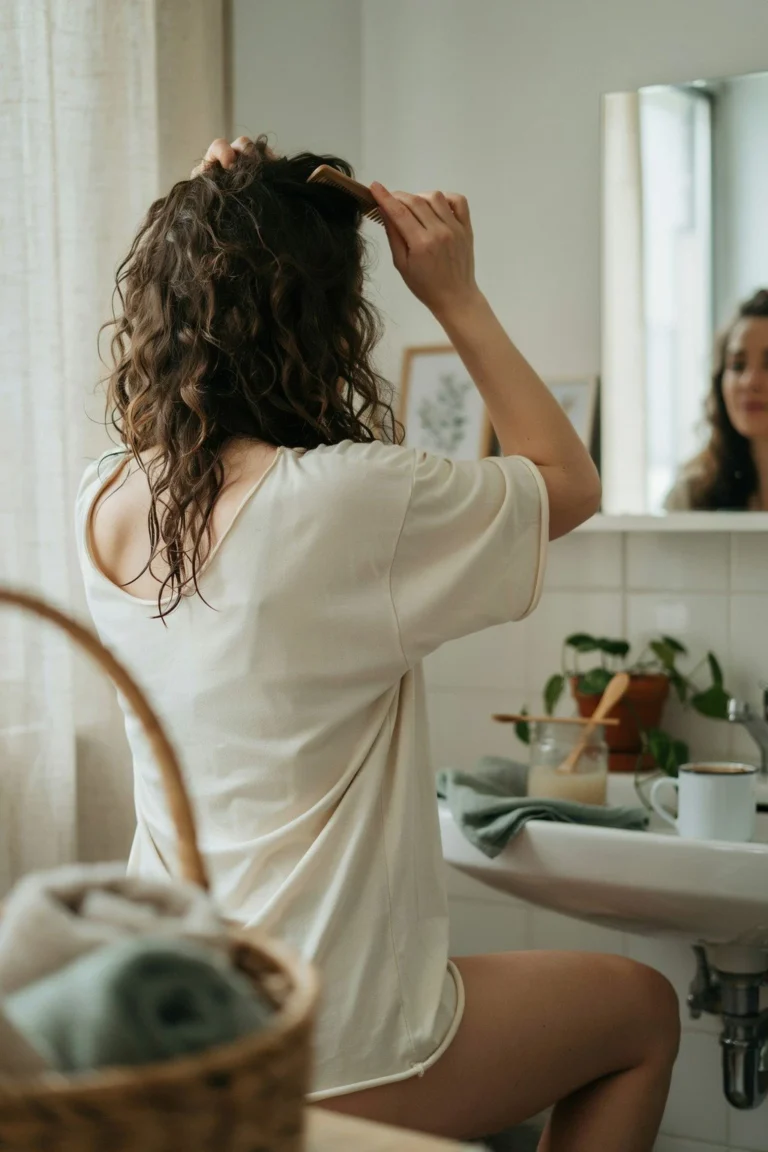
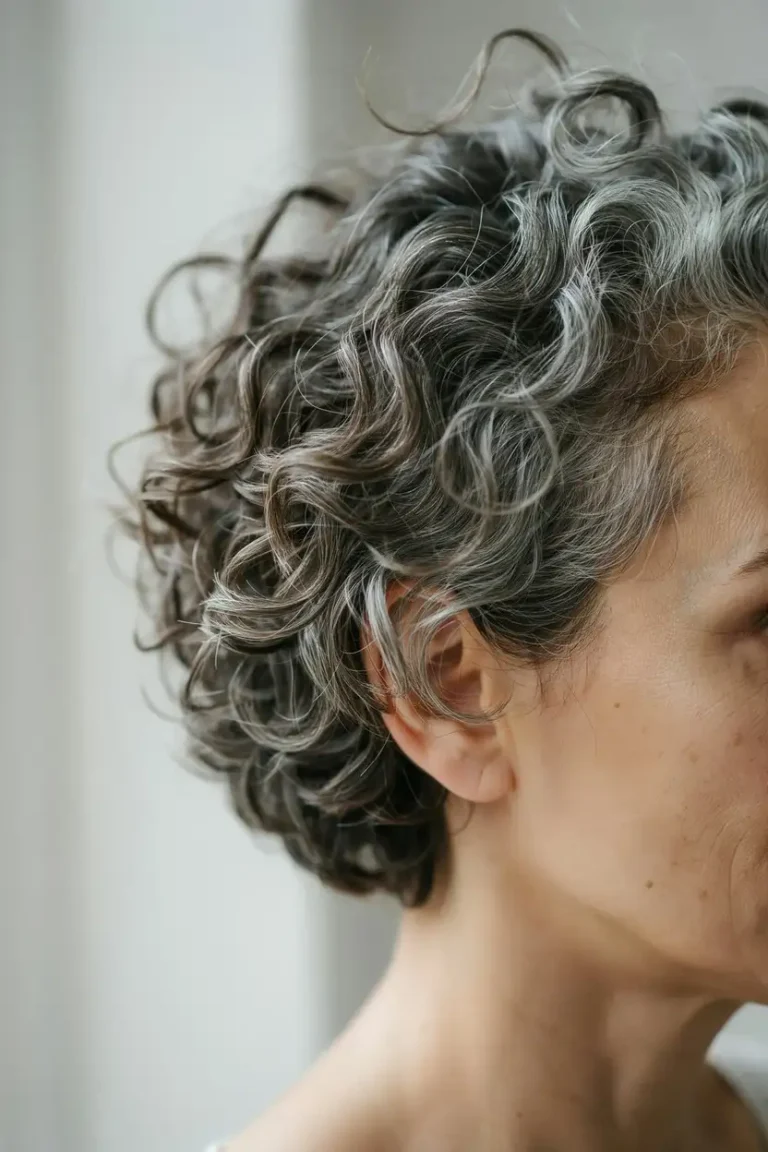
Heatless Curls Tutorial: The Method That Actually Works, Step by Step
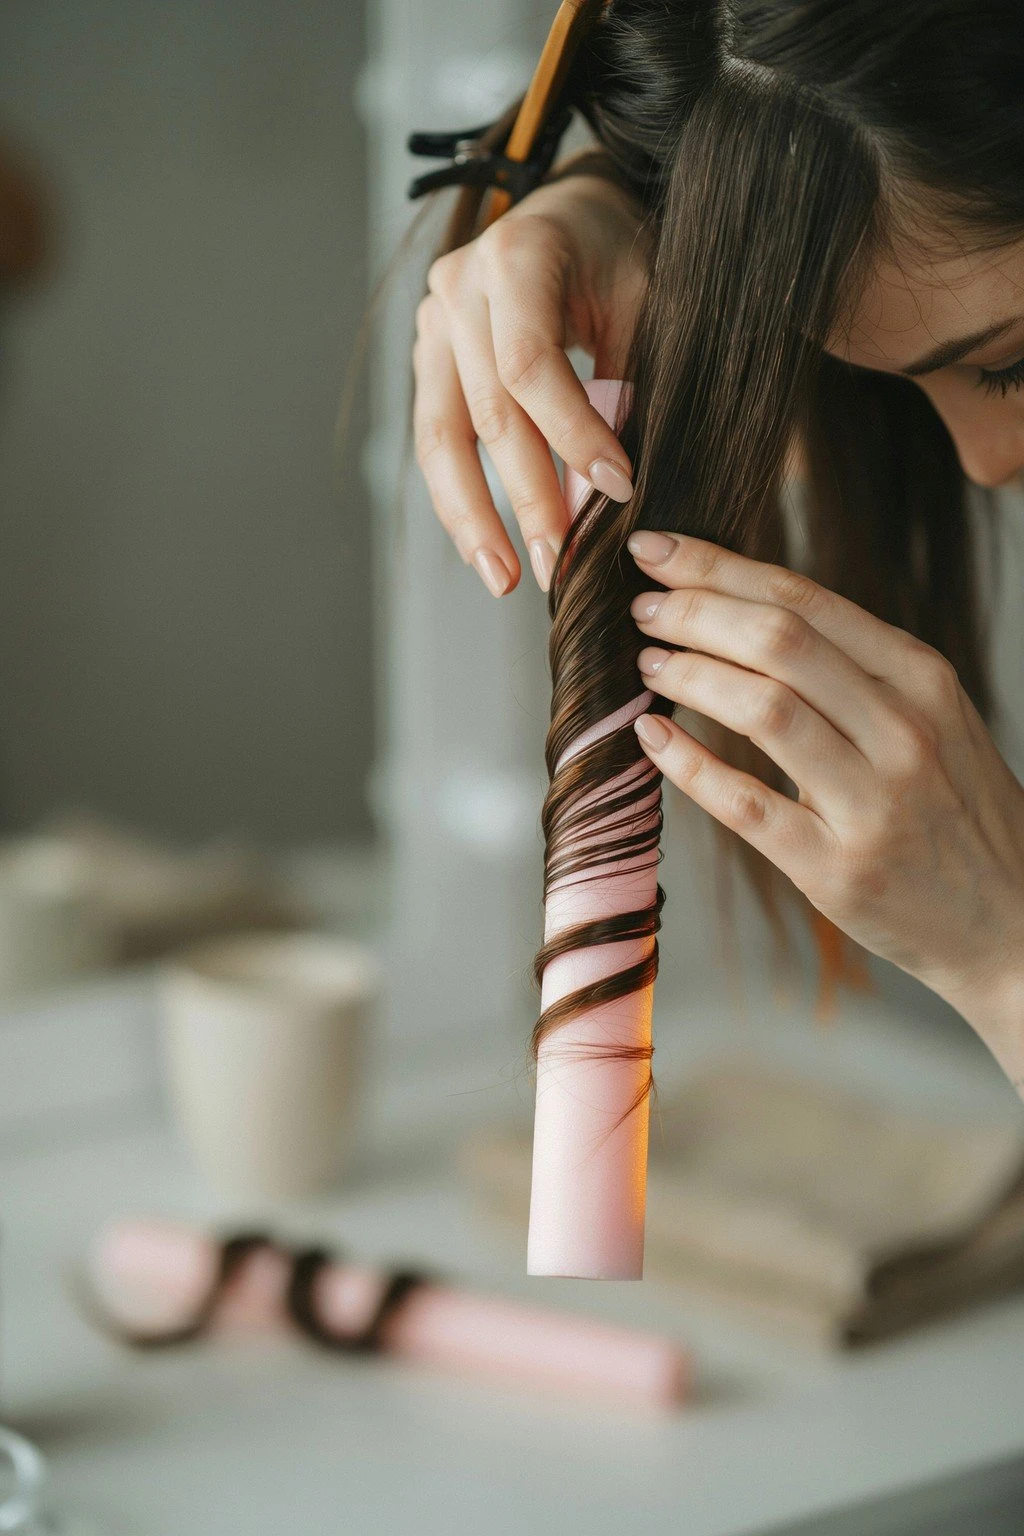
Most heatless curls tutorials show you the wrap and skip the three decisions that actually determine whether it holds: how wet your hair is when you start, how tight you wrap each section, and how you take it down at the end. I’ve filmed this exact method eleven times to get those three things right, and once I did, the tool I used stopped mattering nearly as much as I thought it would. This walks through the flexi rod method start to finish, with the reasoning behind each step, so you can adapt it to whatever’s actually in your hands tonight.
I picked flexi rods for this walkthrough because they’re the most forgiving tool to learn tension on, and because the result translates directly to a ribbon, sock, or any other overnight tool once you understand what each step is actually doing. The rods themselves are replaceable. The three decisions underneath them are not.
A heatless curls tutorial actually works when hair is roughly 80 percent dry before wrapping, sections are wrapped with even tension, and the set gets at least 6 hours to fully dry before you take it down.
What You’ll Need
- 8 to 12 flexi rods, or substitute soft rollers, a ribbon, or fabric strips if that’s what you have.
- A leave-in conditioner and a light-hold curl cream or mousse.
- A wide-tooth comb, for sectioning without disturbing curl clumps.
- A silk or satin bonnet or pillowcase, to protect the set overnight.
The Heatless Curls Tutorial, Step by Step
This is the flexi rod version, but the reasoning behind each step applies whatever tool ends up in your hands. Total hands-on time runs about 20 minutes, plus the overnight set.
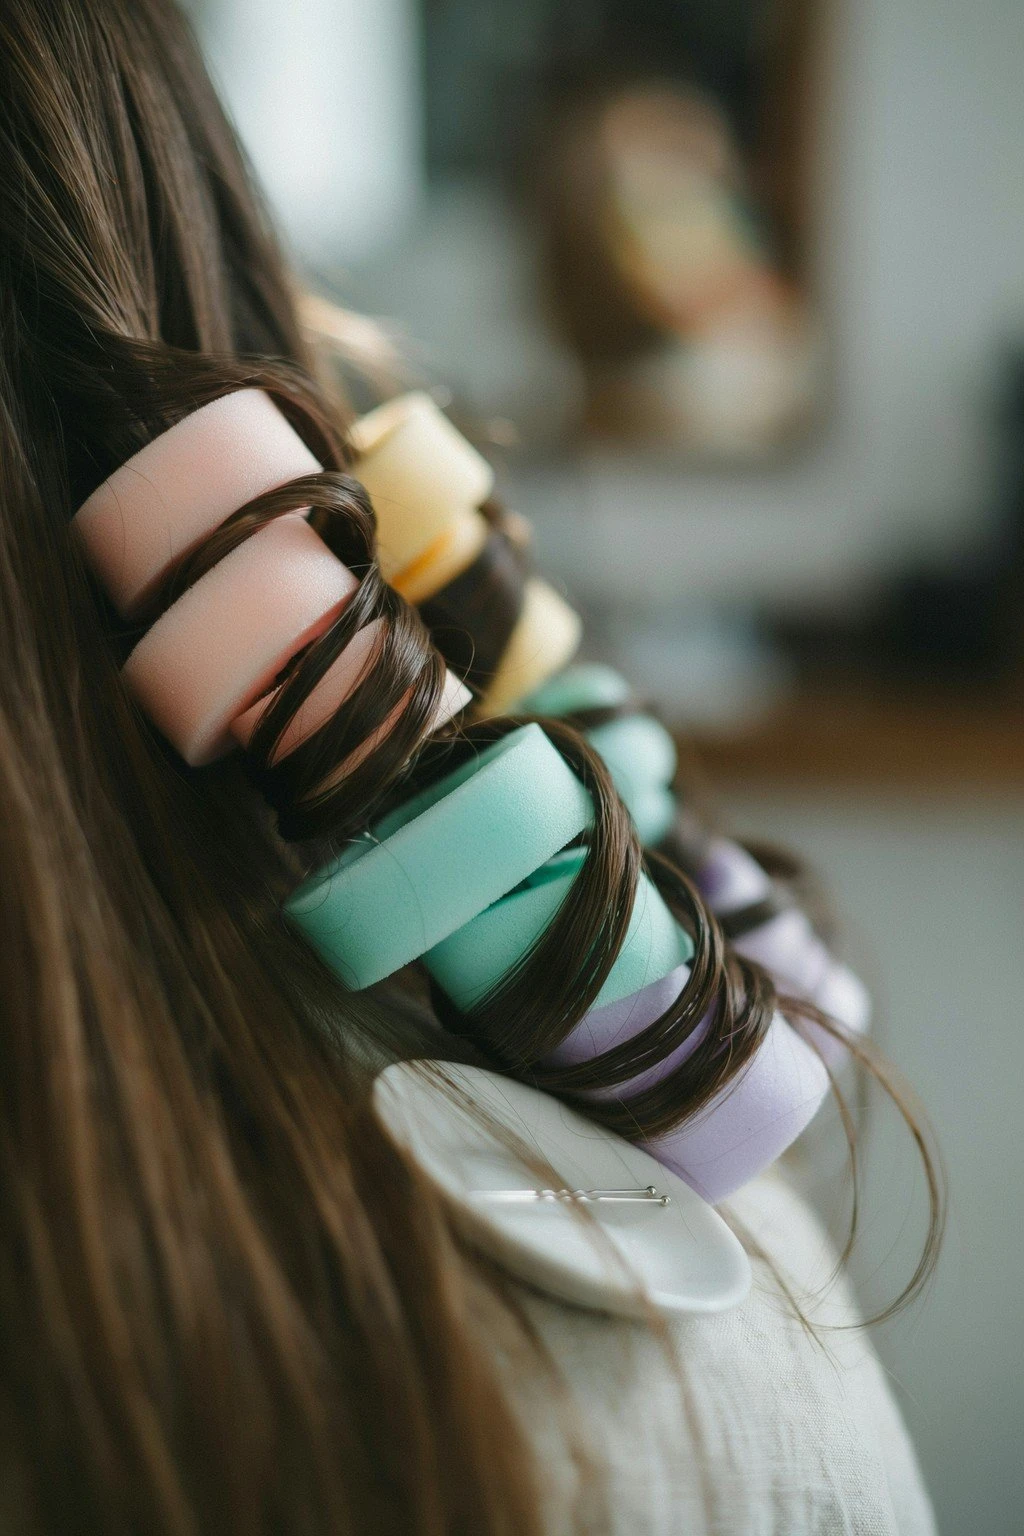
- Get the moisture level right. This decides more than any other step. Hair needs to be about 80 percent dry before you wrap it. Soaking wet takes too long to finish drying overnight and often falls out in soft waves rather than curls, while fully dry hair won’t hold a shape at all since there’s no remaining moisture left to reform bonds as it sets. Air dry or gently diffuse until hair feels just barely damp to the touch, not dripping. This alone takes most people 30 to 45 minutes of just waiting, so plan around it.
- Section with a plan. Divide hair into 8 to 12 sections depending on length and density: fewer, bigger sections for shorter or finer hair, more, smaller sections for longer or thicker hair. Uneven section sizes are the most common reason a finished set looks patchy, with tight curls in some spots and loose waves in others, so take the extra minute to make them reasonably consistent before you start wrapping.
- Apply product in the right order. Leave-in first, worked through each section before you touch a rod. Then a small amount of curl cream or mousse, focused more on the mid-lengths and ends than the roots, since product too close to the scalp can leave hair looking greasy rather than defined by morning. This order matters: cream applied before the leave-in has less to grip onto and tends to sit on the surface instead of actually holding the shape.
- Wrap with even tension. Starting at the ends, roll each section around a rod moving up toward the scalp, keeping tension consistent but not tight enough to pull at the hairline. A wrap that’s too loose won’t hold a defined curl; one that’s too tight risks tension damage right at the root, which is never worth the trade. Bend the rod ends to secure without a clip digging into your scalp overnight.
- Give it real time. Sleep on it for a minimum of 6 hours, longer if your hair is dense, coarse, or was still fairly damp when you wrapped it. This is the step people skip most, unwrapping after 3 or 4 hours because they’re impatient, and it’s the single biggest reason this method gets blamed for “not working” when the technique was actually fine.
- Remove without disturbing the curl. Unroll gently, section by section, and resist the urge to brush or comb through immediately. Let the curls settle for a few minutes, then separate gently with your fingers rather than a brush, which breaks up the clumps you just spent all night setting. A light-hold finishing product or a small amount of oil on your palms, smoothed rather than raked through, helps set the final shape without adding frizz.
None of these six steps is difficult on its own. What trips people up is skipping one under time pressure, usually the drying wait or the overnight hours, since both feel optional in the moment and neither actually is. I’ve done exactly this myself, more times than I want to count — unwrapped early because I was running late, then spent the whole day wondering why the method “wasn’t working” when the actual issue was the clock, not the technique.
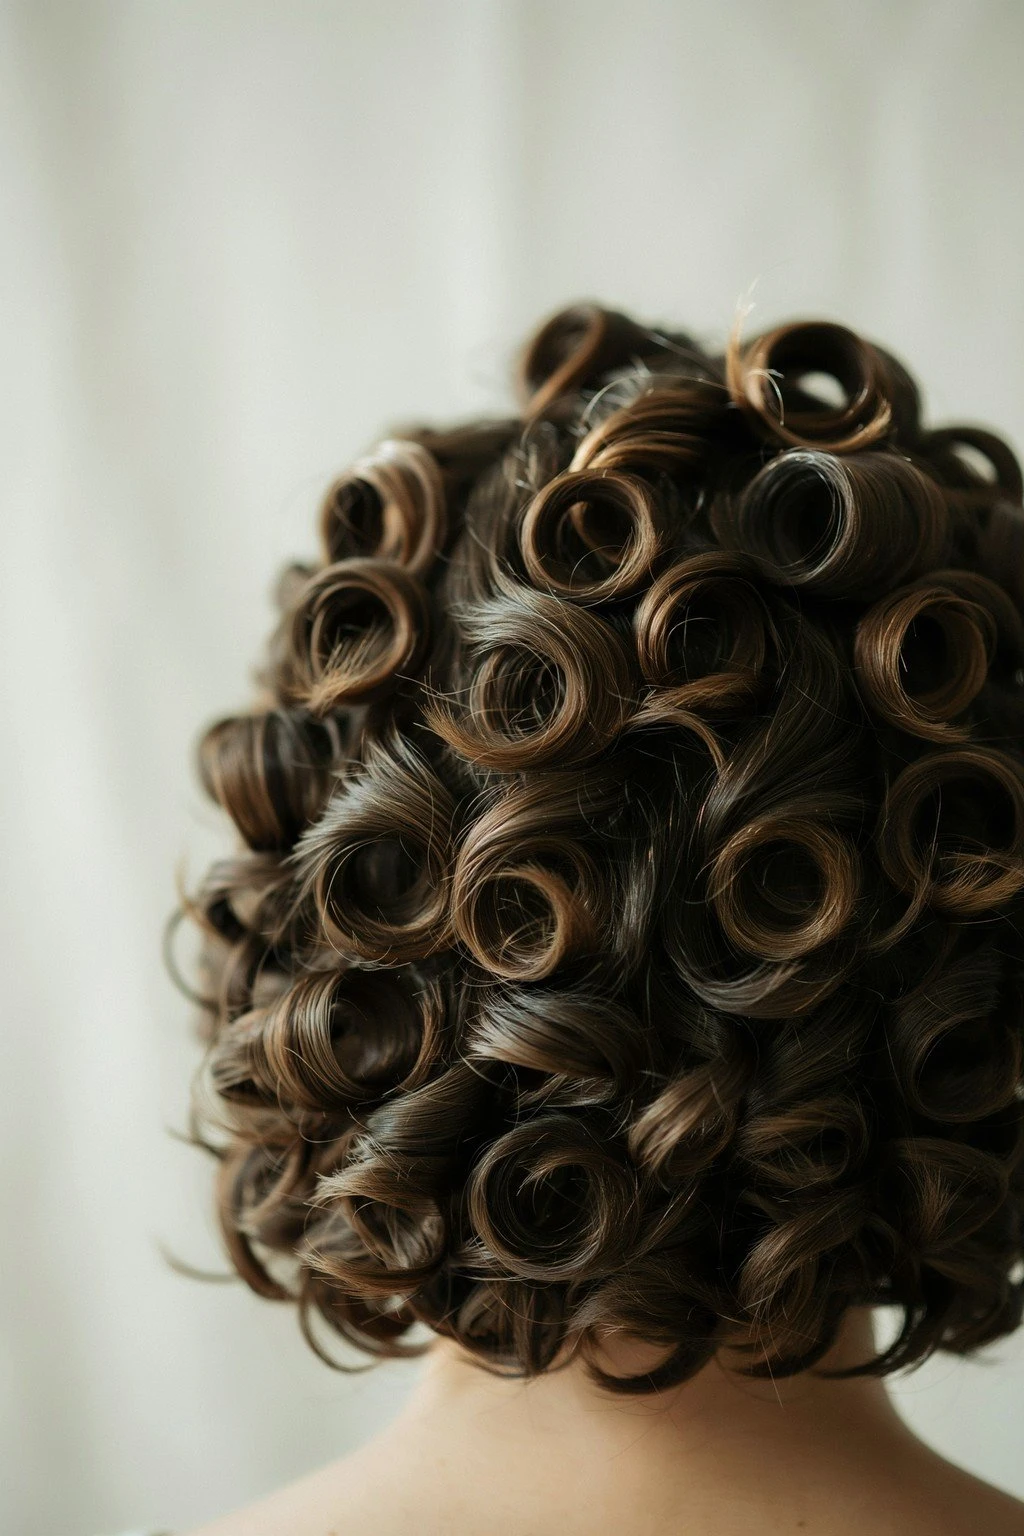
The tool you use matters less than three decisions: how dry your hair was, how evenly you wrapped it, and how long you actually left it. Fix those before you buy a different set of rods.
Heatless Curls Tutorial: How to Tell It Went Wrong
Soft waves instead of defined curls almost always mean the hair wasn’t dry enough when you wrapped it — try air drying an extra 20 to 30 minutes before your next attempt. Curls that fell out by midday usually needed more overnight hours, not a different tool. Frizzy, undefined results after unwrapping most often trace back to brushing through too soon, before the shape had a chance to settle, or not using enough product to hold the clump together while it dried.
Set Time and Hold by Pattern
| Pattern range | Typical wrap time | Hold duration |
|---|---|---|
| 2a–2c | 10 minutes | 8–10 hours |
| 3a–3c | 15 minutes | 12–20 hours |
| 4a–4b | 20 minutes | Up to 24 hours |
Pattern numbers are a shorthand people use to talk about texture, not a precise measurement — density and how coarse or fine each strand is will shift these numbers in either direction, sometimes by several hours. Treat the table as a starting estimate for your first attempt, then adjust based on what your own hair actually did, since that result is more reliable than any general range.
Frequently Asked Questions
How long should I leave heatless curls in before removing them?
A minimum of 6 hours, and closer to 8 for denser or coarser hair. Removing earlier than that is the most common reason a technically correct set doesn’t hold, since the hair hasn’t finished drying into the new shape yet.
Can I do a heatless curls tutorial method during the day instead of overnight?
Yes, as long as you can give it the same 6 to 8 hours — a lazy Sunday with the rods in works just as well as an overnight set, and some people find it easier to sleep without the rods in at all and set them during a few hours of downtime instead.
Why do my curls look great right after removing the rods but fall within an hour?
This usually means the hair wasn’t fully dry when you took the rods out, even if it felt dry to the touch. Give it a little extra time next round, and avoid touching or restyling for at least 15 minutes after removal to let the shape fully settle.
Do I need flexi rods specifically, or will other tools work?
Flexi rods give a consistent, uniform curl, but a ribbon, fabric strips, or even a headband can produce a similar result with the same underlying technique. The moisture level, tension, and time matter far more than which specific tool is in your hands.
How often can I do this without damaging my hair?
A few times a week is generally fine as long as you’re not wrapping with excessive tension at the hairline and you’re giving your hair a gentle detangle rather than fighting through knots each time. If you notice ongoing breakage near the front hairline specifically, ease off the tension there or skip that section entirely for a while.
Can I use heat to speed up the drying time before wrapping?
A diffuser on low heat is fine and genuinely useful for getting to that 80 percent mark faster, but keep it on a low setting rather than high, and don’t aim it directly at the roots for an extended period. This isn’t the same as using heat to actually curl the hair, so it doesn’t carry the same trade-offs as a curling iron or flat iron would, but it’s still worth using restraint rather than blasting hair dry as fast as possible.
Try It Tonight
Pick one section of your routine to actually fix this time, whether that’s the moisture level or just giving it more hours. Small, deliberate changes fix this method faster than switching tools ever does.
Tell me where yours went wrong, which step you think you skipped, and I’ll help you troubleshoot it. — Tess