Gray Coverage at Home: Why Root Color Can Look Different
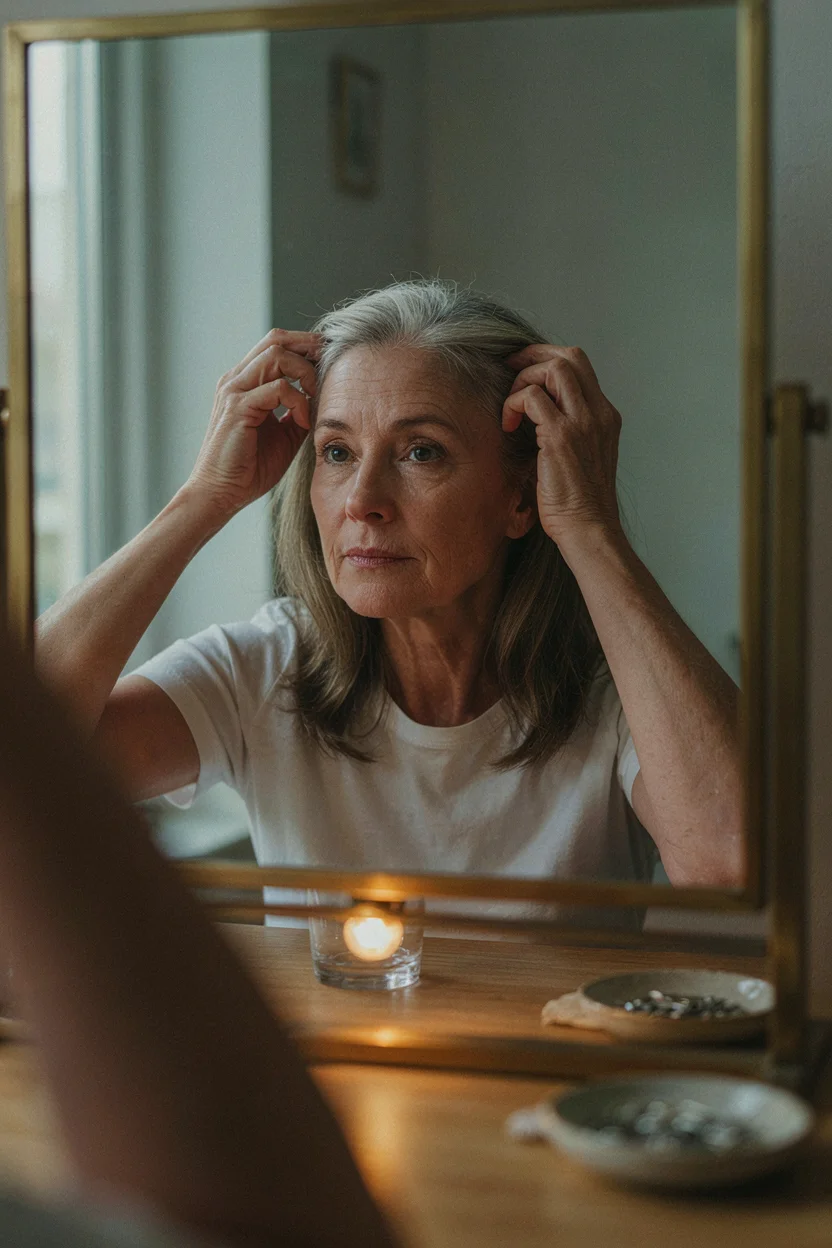
Gray coverage at home fails for one specific reason. Your new growth and your previously colored hair are two completely different surfaces. The same color formula hits fresh white roots and deposits cleanly. It hits lengths with old dye buildup and deposits on top of what is already there. The result is roots that look lighter, darker, warmer, or patchier than everything below them.
A client told me she thought her box dye was defective. She had been using the same shade for three years. The first time, it looked fine. By year three, her roots looked brassy and her ends looked almost black. She blamed the manufacturer. The problem was not the dye. The problem was that she had been applying the same formula from roots to ends every single time. Her roots were getting one session of color. Her ends were getting thirty sessions stacked on top of each other.
This is the most common mistake in home gray coverage. And it is fixable once you understand what is actually happening at the scalp.
Why Your Roots Look Different Than the Rest of Your Hair
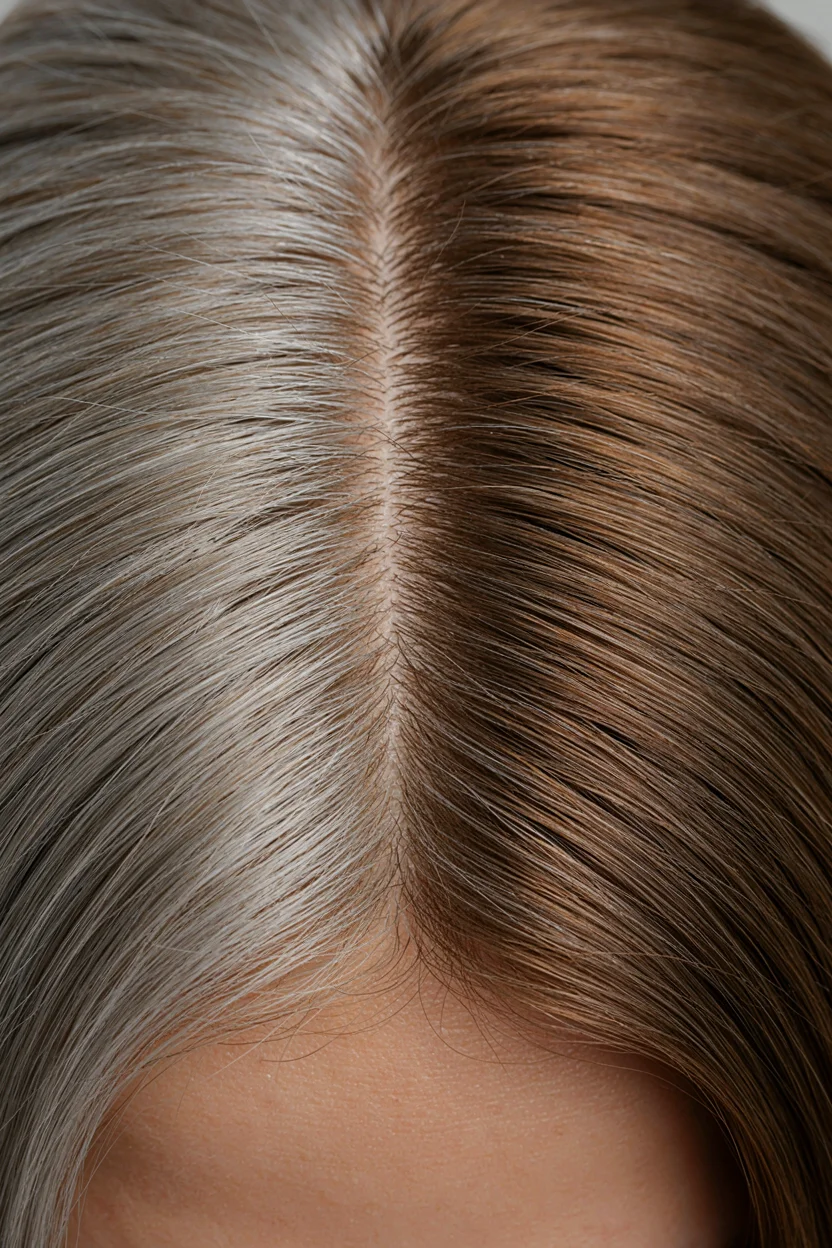
New growth is virgin hair. It has no previous color on it. No buildup. No chemical history. When permanent color lands on fresh gray roots, it deposits pigment on a clean surface. The result is predictable.
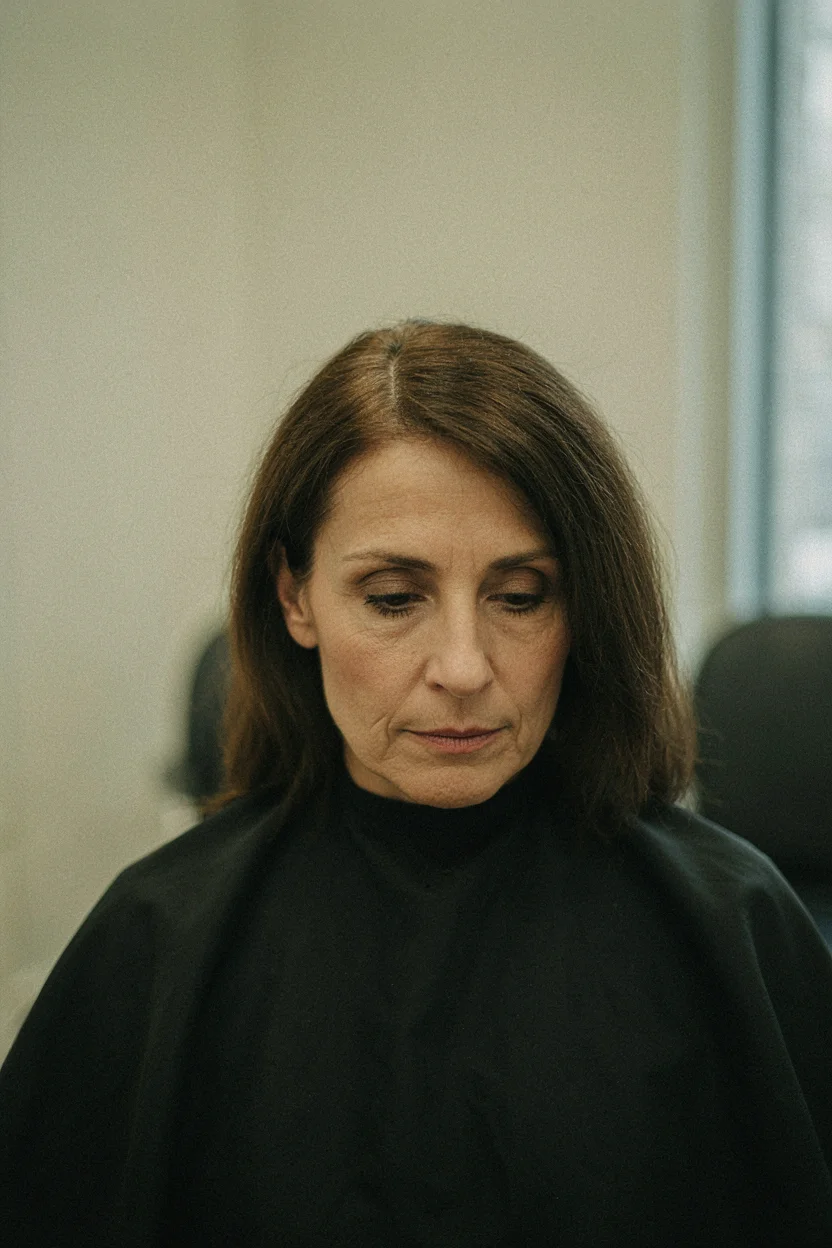
The midshaft and ends are a different story. If you have been coloring for months or years, those sections carry layers of old pigment. Each application adds another coat. Over time, the color on those sections gets darker, denser, and more opaque than what the roots show.
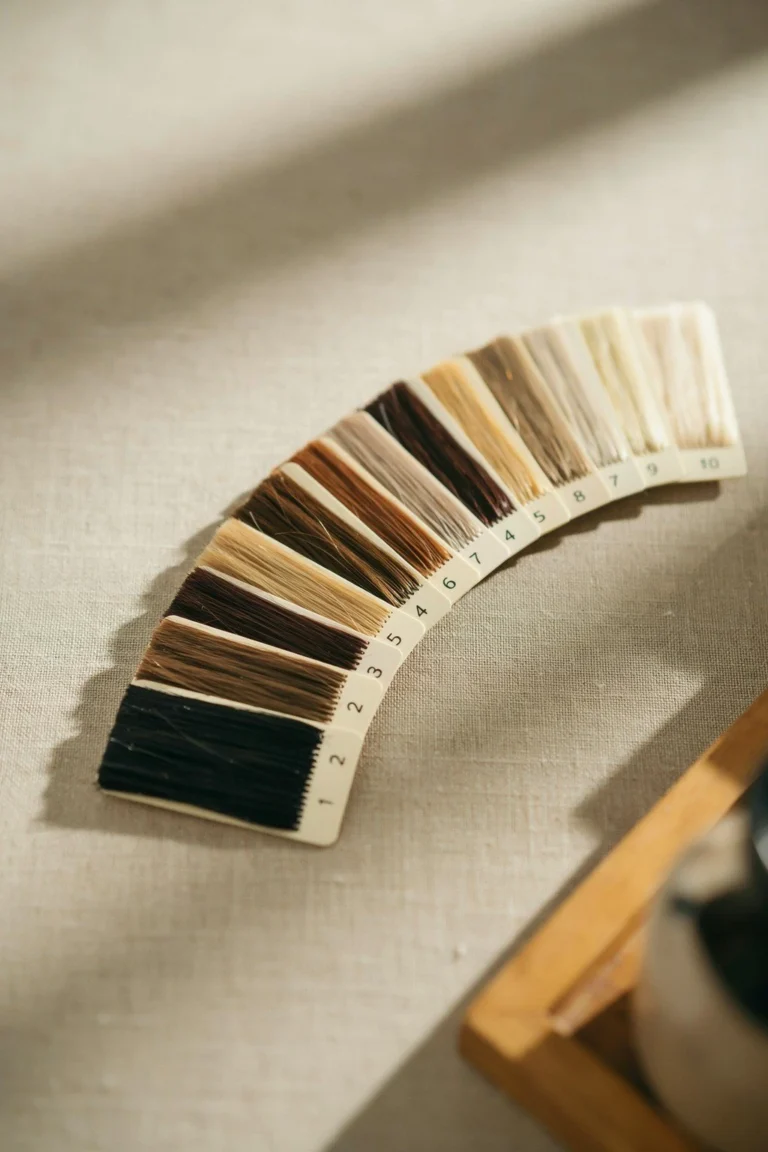
The difference is not subtle. I have seen clients come in with roots that read as a level 6 and ends that read as a level 3. Same formula. Same box. The only variable was how many times the color had been applied to each section.
Warmth compounds the problem. Old color tends to shift warm as it oxidizes. If your formula has any warm or neutral tone, the buildup on previously colored sections will read increasingly orange or brassy over time. Your roots, getting only one fresh application, look cooler by comparison. The contrast between the two zones is what makes the overall result look uneven.
What Happens When Previous Color Gets in the Way
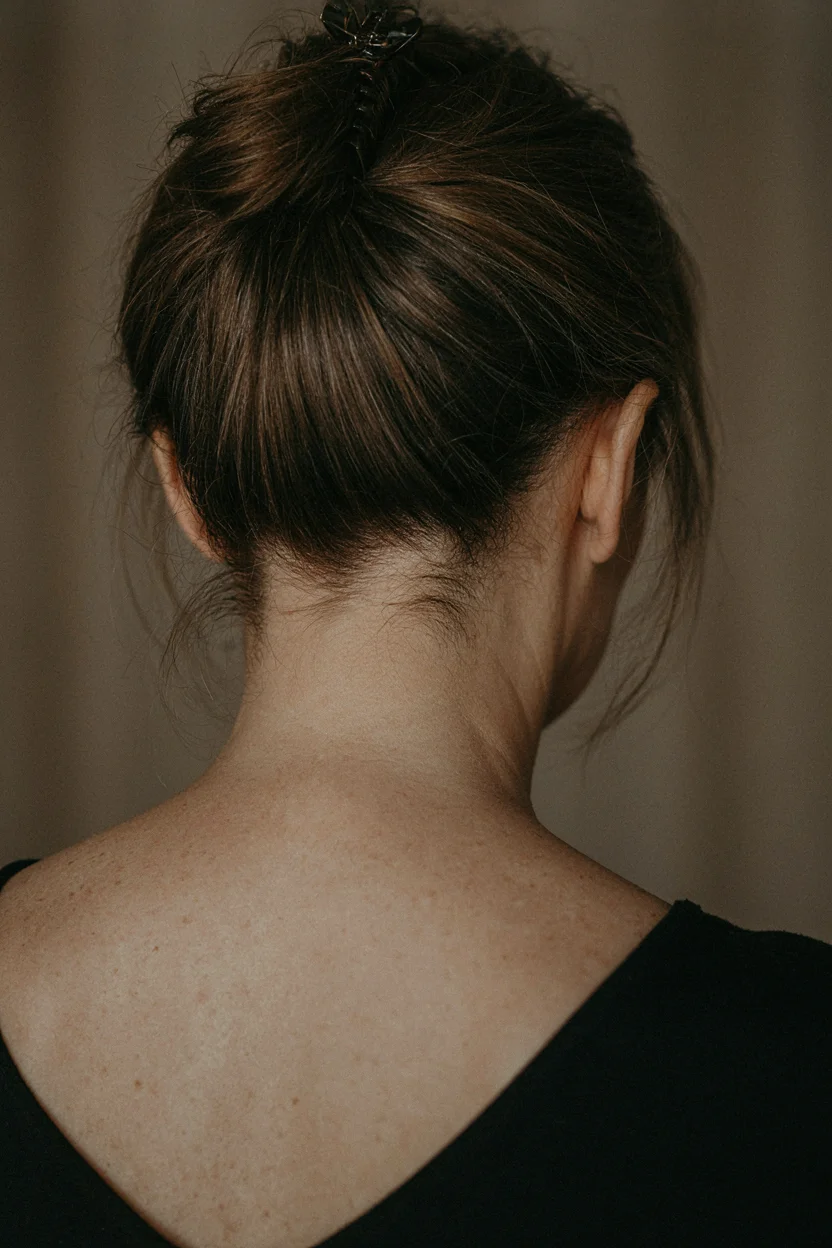
Previous color does not lift with a standard permanent application. Permanent color does not lift previous permanent color. That is a rule of color chemistry. The new formula can shift the tone slightly. It can add depth. It cannot remove what was already deposited.
This means every full-head application darkens the previously colored sections. If your target is a level 5 medium brown and you apply it from scalp to ends every four weeks, your roots will be a clean level 5. Your ends will be closer to a level 3 or 2 after six months. The gap widens with each application.
A client came to me after eighteen months of home coloring. She was about 60 percent gray. Her roots were a level 5 warm brown. Her ends were so dark they read as level 2. The band between the two was visible when she pulled her hair up. She had not noticed the gradual darkening because it happened one application at a time.
The fix was not simple. We had to remove some of the buildup from the midshaft and ends before applying a single, even formula. That took two sessions. Total cost: approximately $180 to $220. If she had applied to roots only from the beginning, she would never have needed the correction.
The Regrowth Zone and Why It Reacts Differently
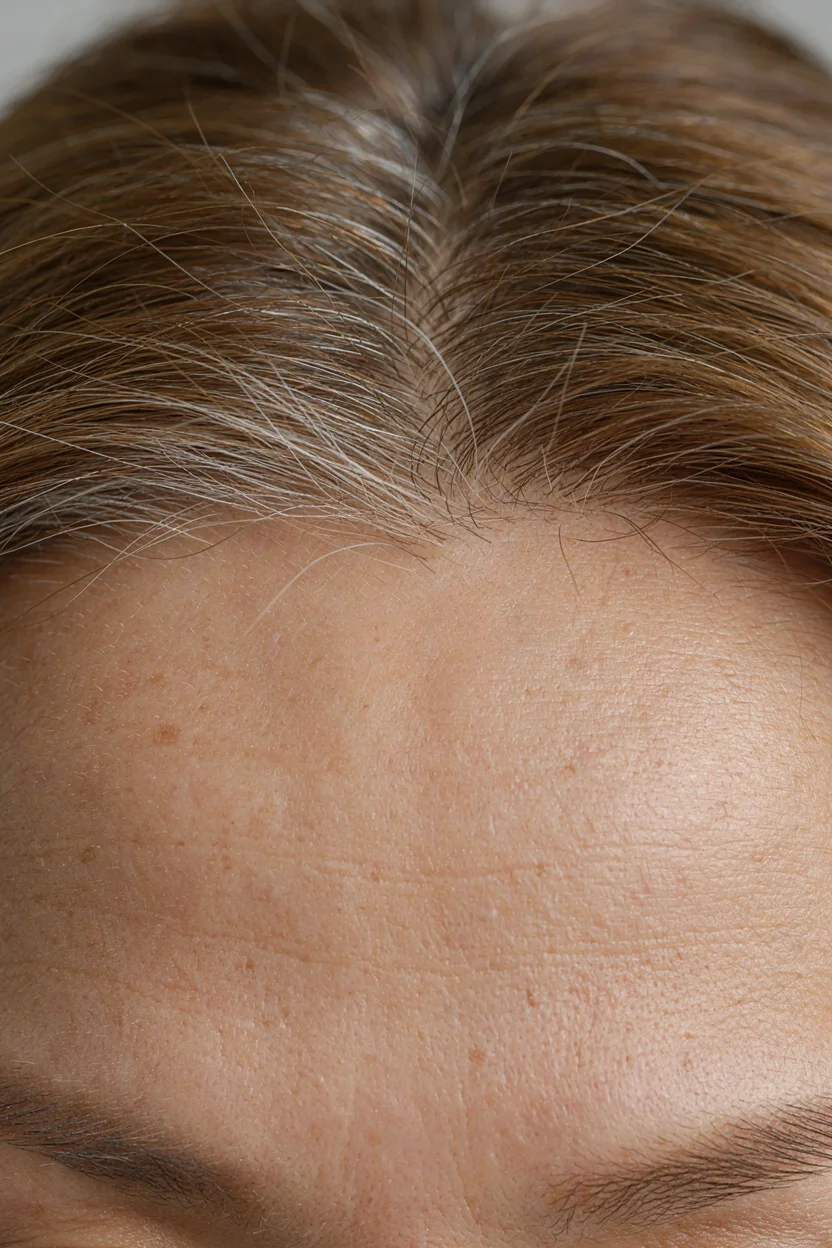
New growth extends approximately half an inch from the scalp per month. That is the zone that needs color during a touch-up. Everything beyond that half inch has already been colored.
The regrowth zone is also the warmest area of the head. Heat from the scalp accelerates processing slightly. This means color applied directly at the scalp may develop faster and deposit more intensely than color applied further from the head.
Gray hair at the regrowth zone is often the most resistant. The newest white hairs tend to be coarser and have a tighter cuticle than gray hair further from the scalp. This is why the hairline and part line are the first places to show incomplete coverage. Those areas have the highest concentration of fresh, coarse gray.
If your gray coverage looks good everywhere except the hairline, the issue is texture resistance at the regrowth zone, not a formula problem. The fix is application technique, not a different product. Section the hairline area first. Apply there first. Give those resistant strands the longest processing time possible within the safe window.
Common Mistakes That Make Home Gray Coverage Worse

The most frequent mistake is full-head application every time. If you color every four weeks and apply from roots to ends, you are layering color on sections that already have full coverage. The roots need the color. The lengths do not. Stop applying through the ends unless you are making a deliberate change.
The second mistake is choosing a level that is too light for reliable gray coverage. If you are more than 50 percent gray and you are using a level 7 or above, you will not get full coverage. The pigment load is too low. Stay at level 6 or below for predictable results. The hair color levels guide breaks down exactly what each level deposits on white hair.
The third mistake is skipping the strand test. I know it takes twenty extra minutes. Do it anyway. Pull a section from your most visible gray area, usually the part line. Apply the formula. Process for the full time. Rinse and check the result. If coverage is patchy on that section, it will be patchy everywhere. The strand test tells you before you commit.
- Full-head application instead of root-only touch-ups causes progressive darkening on the lengths
- Choosing a level above 6 when gray is more than 50 percent results in patchy coverage
- Skipping the strand test means you discover coverage problems after the full application
- Applying to the hairline last gives resistant gray the shortest processing time
- Using a different formula on roots and lengths without understanding how they interact creates visible banding
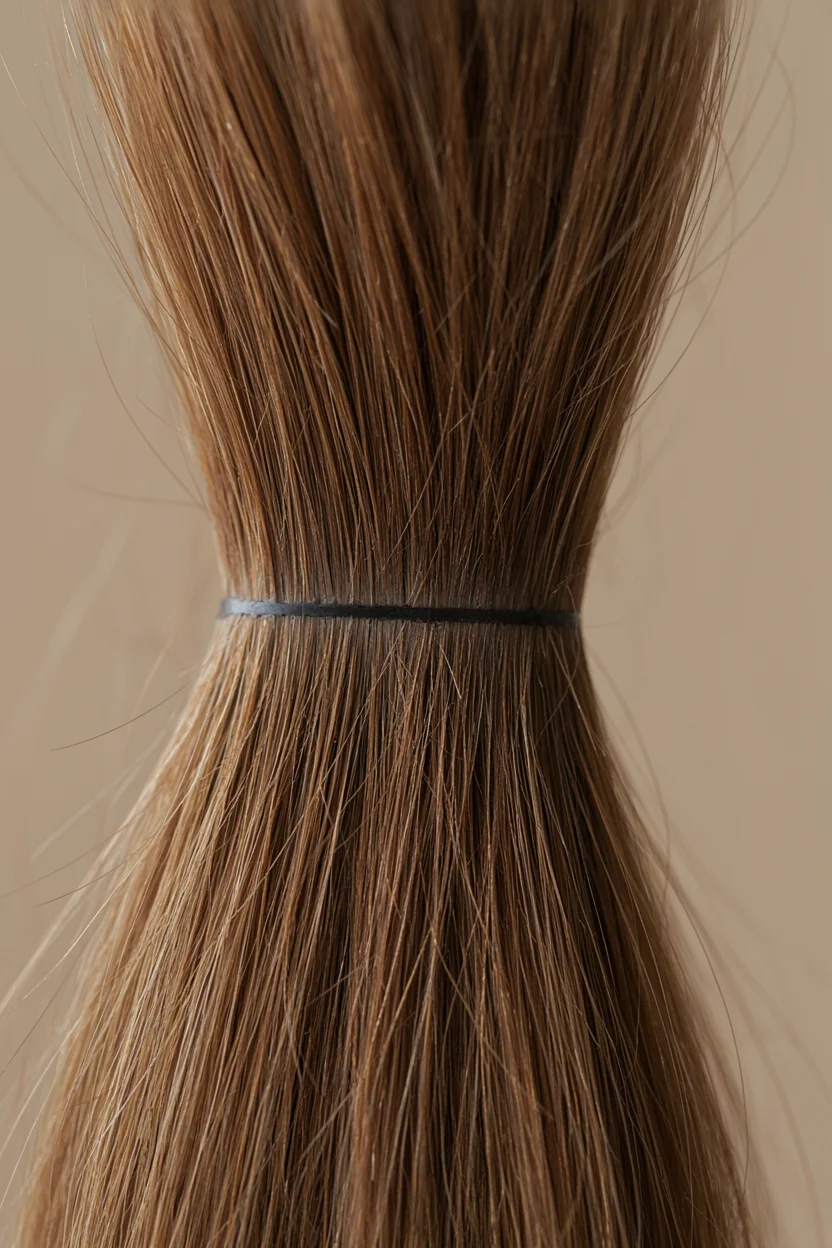
Another mistake is overlapping. When you apply color to the regrowth zone, it is easy to overlap onto previously colored hair by a quarter inch or more. That overlap zone gets double-deposited. Over several sessions, that quarter-inch band becomes noticeably darker than both the roots above and the lengths below. This creates the kind of visible banding that I address in the hair color banding guide.
Your roots and your lengths are not the same surface. Treating them identically is why the result never looks even.
Root-Color Problems and What Causes Them
| Problem | Likely Cause | Level Range | Fix |
|---|---|---|---|
| Roots lighter than lengths | Buildup on previously colored sections from repeated full-head application | Roots reading 1 to 2 levels lighter than ends | Root-only application going forward; color removal on lengths if gap is severe |
| Roots darker than lengths | Scalp heat accelerating deposit at regrowth; formula too dark for target | Roots reading half to 1 level darker | Reduce processing time at scalp; choose one level lighter for root formula |
| Roots look brassy or warm | Underlying warmth showing on gray with cool-toned formula; oxidation on old color | Roots showing orange-yellow undertone at level 5 to 7 | Use neutral tone instead of ash on gray roots; avoid applying ash on previously warm lengths |
| Patchy coverage at hairline | Coarse resistant gray at regrowth zone getting shortest processing time | Scattered white strands visible at level 4 to 6 | Apply to hairline and part line first; section finely for full saturation |
| Visible band between roots and lengths | Overlap during application creating a double-deposit zone | Quarter-inch dark band at boundary, typically level 1 to 2 darker | Apply strictly to new growth only; color removal on band if already present |
What to Do Instead
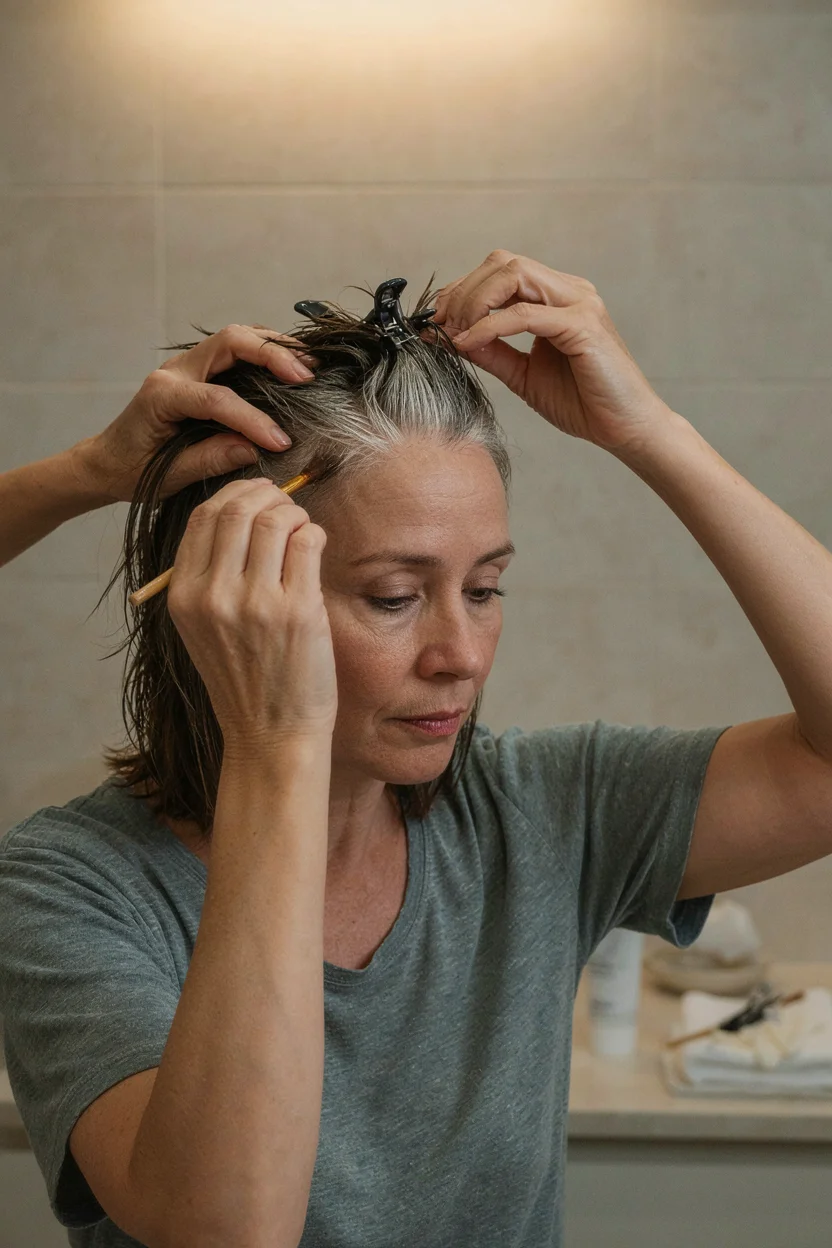
Apply color to new growth only. The regrowth zone is approximately half an inch per month of growth. That is the area that needs pigment. Everything beyond it already has color. Use a fine-tooth application brush and section the hair in thin partings. Apply directly to the white regrowth. Avoid pulling the formula through previously colored lengths.
If you need to refresh the tone on the midshaft and ends, use a demi-permanent gloss rather than a full permanent application. Demi-permanent deposits tone without adding significant depth. It refreshes the color without the progressive darkening that permanent color causes on previously colored sections. A gloss application every third or fourth touch-up is enough to keep the lengths looking current.
Strand test before every application. This is not optional. Your hair changes over time. Hormonal shifts, medications, and seasonal texture changes affect how color deposits. A formula that covered your gray perfectly six months ago might not perform the same way now. Test a small section first.
Keep your level consistent. If you have found a level that covers your gray reliably, do not switch to a lighter shade without understanding the trade-off. Going from a level 4 to a level 6 means accepting less coverage. If that is a deliberate choice for softer grow-out, fine. If it is accidental, you will wonder why your coverage suddenly looks thin.
Check out how dermatologists and trichologists describe the structural differences between pigmented and gray hair strands.
When Home Coverage Will Not Work
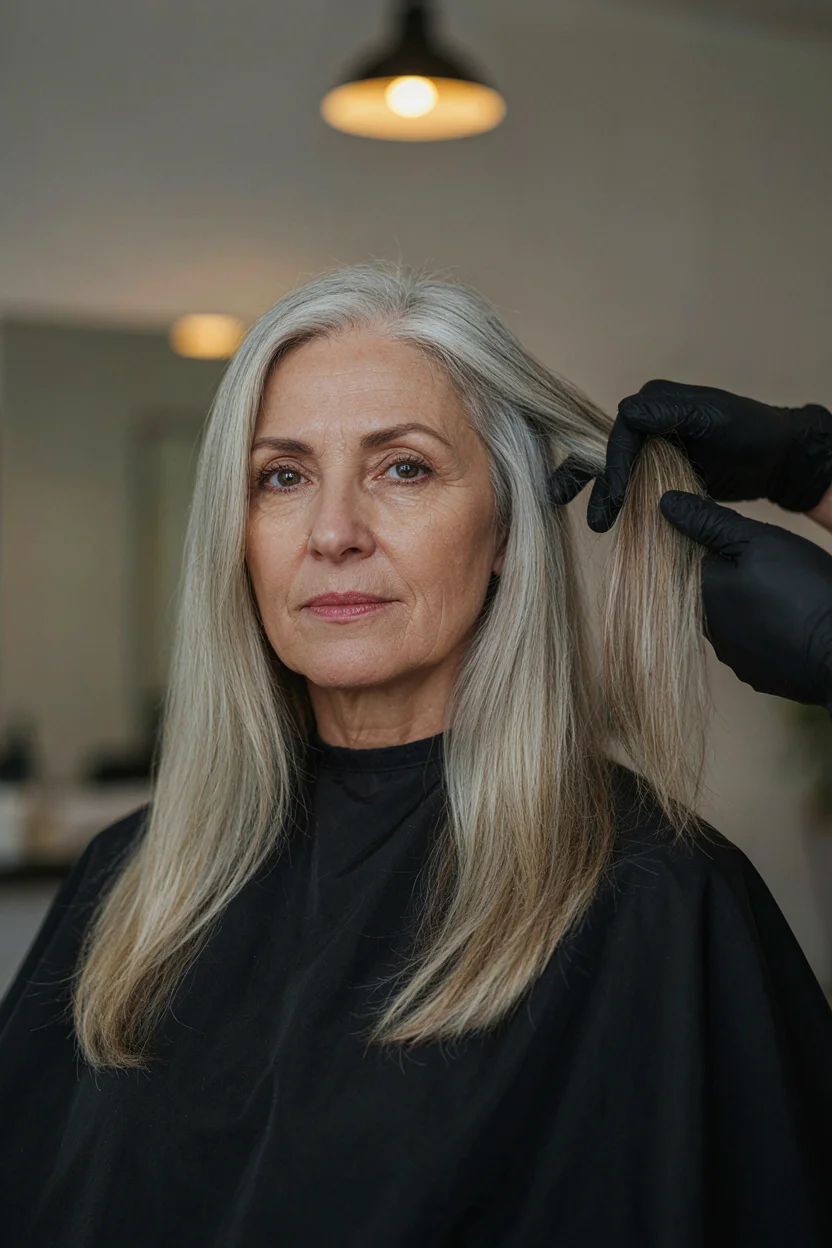
Some situations are beyond what a box can handle. If your previous color has built up to a level 3 or darker and your target is a level 6 or lighter, you need color removal. That requires professional application and cannot be done safely at home.
If you have used henna at any point, tell your colorist before anything touches your hair. Henna coats the hair shaft and reacts unpredictably with permanent color. The result can range from no change to extreme heat damage. A strand test is mandatory, and even then, the outcome is not guaranteed.
If your gray coverage has been inconsistent for more than three applications, the buildup pattern is probably too complex for a straightforward home fix. At that point, one professional correction session, typically $120 to $200, resets the canvas. From there, you can maintain at home with root-only applications and avoid rebuilding the same problem.
Frequently Asked Questions
Why does my gray coverage look good the first week but fade by week three?
Gray hair has a tighter cuticle than pigmented hair. Color deposits on the surface but may not penetrate as deeply. This means gray strands can release pigment faster during washing. If your coverage fades noticeably within three weeks, the level you are using might be too light for your gray texture. Going one level darker often extends coverage by one to two weeks.
Should I use a different color on my roots than on my lengths?
In a salon, colorists sometimes use different formulas for roots and lengths to account for buildup. At home, this adds complexity that increases the risk of banding. The safer approach is to apply your standard formula to roots only and use a demi-permanent gloss on the lengths when they need refreshing. That avoids the progressive darkening that causes the mismatch in the first place.
How do I know if my previous color has too much buildup?
Pull a strand of hair from the midshaft and hold it up to light. If the color looks almost black or has a flat, opaque appearance with no dimension, there is significant buildup. Another test: wet the hair and see how long it takes to absorb water. Heavily coated hair repels water longer than virgin hair. If either of these is true, a color removal session before your next application will give you a more even result.
Can I fix uneven root coverage without starting over?
Yes, depending on the type of unevenness. If your roots are too light, you can reapply a demi-permanent formula one level darker to the root area only. If your roots are too dark compared to the lengths, that requires lifting the root zone, which is better handled professionally. Patchy coverage usually means the application missed sections. A careful reapplication to the missed areas, using thin sections and full saturation, often resolves it.
Is gray coverage at home safe for all hair types?
Permanent color is safe for most hair types when used as directed. The risk increases if you have previously used henna, if your hair is significantly damaged from heat or chemical processing, or if you have a scalp condition. If you experience itching, burning, or unusual shedding after coloring, stop and consult a dermatologist. A patch test behind the ear 48 hours before each application is the standard precaution.
Coverage Starts at the Root
Your roots are the only part of your hair that needs fresh color during a touch-up. The rest already has it. Once you stop applying permanent color to previously colored lengths, the unevenness stops building. The banding stops deepening. The brassiness on the ends stops compounding. Gray coverage at home is not hard. It just requires you to treat the regrowth zone differently from everything below it.
— Margot